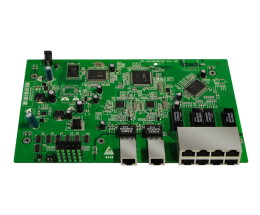
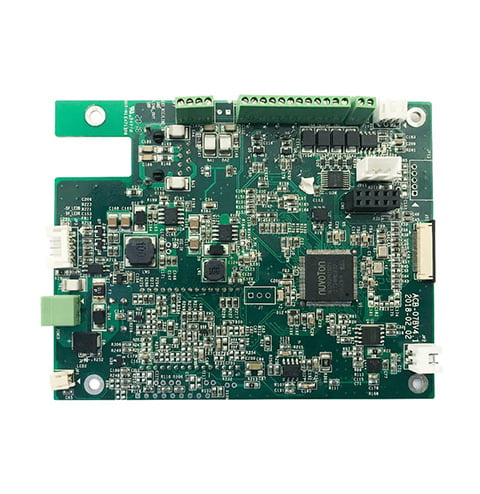

Assembly Top in PCB: Best Practices and Guidelines
If you are interested in PCB manufacturing, you may have come across the term “assembly top” during your research. Assembly top in PCB refers to the process of placing electronic components on the top side of a printed circuit board (PCB). This is done after the through-hole components have been soldered onto the bottom side of the PCB. The assembly top process is a critical step in PCB manufacturing, as it involves placing and soldering surface mount components onto the board.

One of the main benefits of assembly top in PCB is that it allows for more compact and complex designs. By placing components on both sides of the board, designers can fit more components into a smaller space. This is especially important for devices that need to be small and lightweight, such as smartphones, tablets, and wearables. Additionally, assembly top in PCB can improve the performance of the device by reducing the length of the signal paths between components. This can result in faster and more reliable electronic devices.
Basics of PCB Assembly Top Layer

When it comes to assembling a printed circuit board (PCB), the assembly top layer refers to the process of placing electronic components on the top side of the PCB. This step is taken after the through-hole components have been soldered onto the bottom side of the PCB. In this section, we’ll discuss the basics of the PCB assembly top layer, including components placement and solder paste application.
Components Placement
The placement of components on the top layer of a PCB is a critical step in the assembly process. It involves carefully positioning each component on the PCB according to the design specifications. The placement of components is important because it directly affects the performance and functionality of the PCB.
During the placement process, it is important to ensure that the components are placed in the correct orientation and that they are not too close to each other. This is because components that are too close together can cause interference, which can negatively affect the performance of the PCB.
Solder Paste Application
After the components have been placed on the top layer of the PCB, the next step is to apply solder paste. Solder paste is a mixture of small solder particles and flux, which is used to attach the components to the PCB.
The solder paste is applied to the pads on the top layer of the PCB using a stencil. The stencil is placed over the PCB and the solder paste is applied through the openings in the stencil, which ensures that the paste is applied only to the correct areas.
Once the solder paste has been applied, the components are placed on the top layer of the PCB and the entire assembly is heated. The heat causes the solder paste to melt and flow, which creates a strong bond between the components and the PCB.
The assembly top layer is a critical step in the PCB assembly process. It involves carefully placing components on the top layer of the PCB and applying solder paste to create a strong bond between the components and the PCB. By following the proper procedures for components placement and solder paste application, you can ensure that your PCB assembly is of the highest quality.
Assembly Process Overview

When it comes to PCB assembly, the process can be divided into two main stages: component placement and soldering. In the first stage, components are positioned on the PCB according to the design specifications. In the second stage, the components are soldered to the board. In this section, we’ll provide an overview of the two stages of the assembly process.
Pick and Place Machines
The component placement stage of the assembly process is typically done with the help of pick and place machines. These machines use a combination of suction and mechanical arms to pick up components from reels or trays and place them onto the PCB. The machines can place components at a rate of thousands per hour, making them an essential tool for high-volume production.
Pick and place machines are programmed with the PCB design files, which specify the location of each component on the board. The machines use this information to accurately place each component in the correct position. Some pick and place machines are also equipped with cameras that can verify the placement of each component, ensuring that they are in the correct position and orientation.
Reflow Soldering
Once all the components have been placed on the PCB, the board is ready for the soldering stage of the assembly process. Reflow soldering is the most common method used for soldering components to a PCB. In this process, solder paste is applied to the pads on the PCB where the components will be placed. The board is then heated in a reflow oven, which melts the solder paste and fuses the components to the board.
Reflow soldering is a precise process that requires careful control of temperature and time. The solder paste must be heated to a specific temperature and held at that temperature for a set amount of time in order to ensure a strong and reliable connection. The reflow process can be done in either a batch or inline oven, depending on the production requirements.
In conclusion, the assembly process for a PCB involves two main stages: component placement and soldering. Pick and place machines are used to accurately place components on the board, while reflow soldering is used to fuse the components to the board. With careful control of temperature and time, the assembly process can result in a reliable and high-quality PCB.

